Pitcher Photos
When shooting pitchers the first thing you need to know is how to eliminate the fence from the picture.
Using the long lens, zoom in to frame the the shot where desired and move as close to the fence as possible. Line up through the spaces in the fence. The camera will focus on the subject (the pitcher) and blur out the fence to the point where it will not be visible. This will not work if you are too far away from the fence or not zoomed in.
The best time to get these shots is during the pitcher's warm up throws prior to the start of an inning.
Your camera has a continuous shutter release mode. Frame your shot and keep your finger on the shutter button to take a series of pictures to get several points of a pitchers delivery. The more advanced your camera body is the more FPS (frames per second) your camera will capture. This can be anywhere from 3 FPS for entry level cameras, to 14 FPS for Pro level cameras. The slower your FPS rate the more deliveries you need to shoot to get all stages of a pitchers delivery.
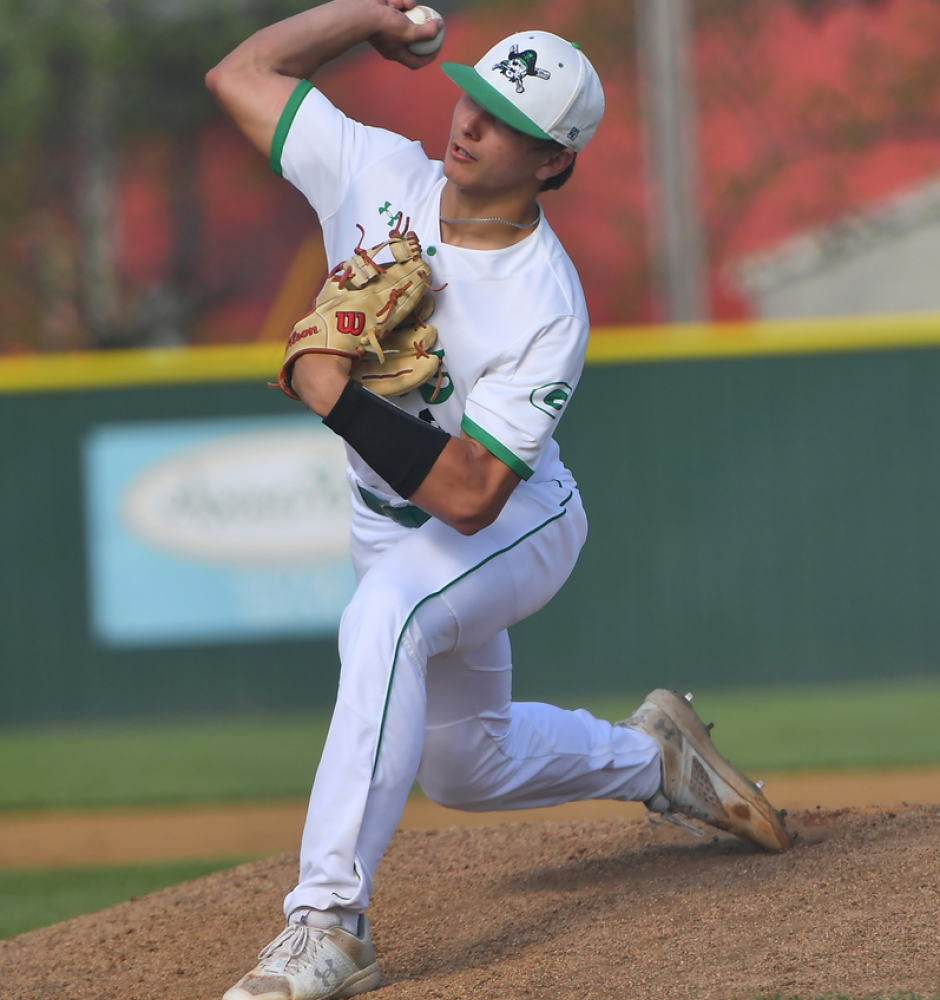
Angles:
Straight on angle is shot from behind the fence just off center of the catcher. The lower your angle to the pitcher the more dynamic the result.
Side angles of the delivery are from the third base side for right handers and first base side for left handers. Your position behind the fence should be about 20' up from home plate but this angle to the pitcher is at your discretion.
The sample photos you see at the top of the page were shot at the following settings:
Aperture f/4.0
Focal length 270mm
Shutter speed 1/4000
ISO 400